Page 39 - MetalForming December 2015
P. 39
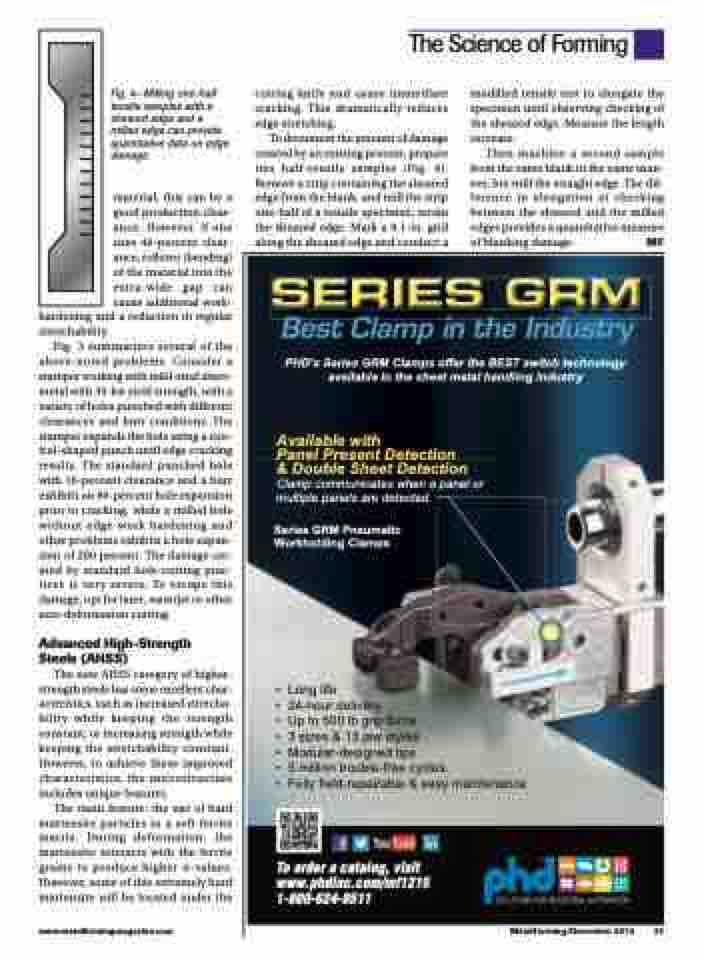
Fig. 4—Milling one-half tensile samples with a sheared edge and a milled edge can provide quantitative data on edge damage.
material, this can be a good production clear- ance. However, if one uses 40-percent clear- ance, rollover (bending) of the material into the extra-wide gap can cause additional work-
hardening and a reduction in regular stretchability.
Fig. 3 summarizes several of the above-noted problems. Consider a stamper working with mild-steel sheet- metal with 30-ksi yield strength, with a variety of holes punched with different clearances and burr conditions. The stamper expands the hole using a con- ical-shaped punch until edge cracking results. The standard punched hole with 10-percent clearance and a burr exhibits an 80-percent hole expansion prior to cracking, while a milled hole without edge-work hardening and other problems exhibits a hole expan- sion of 280 percent. The damage cre- ated by standard hole-cutting prac- tices is very severe. To escape this damage, opt for laser, waterjet or other non-deformation cutting.
Advanced High-Strength Steels (AHSS)
The new AHSS category of higher- strength steels has some excellent char- acteristics, such as increased stretcha- bility while keeping the strength constant, or increasing strength while keeping the stretchability constant. However, to achieve these improved characteristics, the microstructure includes unique features.
The main feature: the use of hard martensite particles in a soft ferrite matrix. During deformation, the martensite interacts with the ferrite grains to produce higher n-values. However, some of this extremely hard martensite will be located under the
cutting knife and cause immediate cracking. This dramatically reduces edge stretching.
To document the amount of damage created by an existing process, prepare two half-tensile samples (Fig. 4). Remove a strip containing the sheared edge from the blank, and mill the strip one-half of a tensile specimen; retain the sheared edge. Mark a 0.1-in. grid along the sheared edge and conduct a
modified tensile test to elongate the specimen until observing checking of the sheared edge. Measure the length increase.
Then machine a second sample from the same blank in the same man- ner, but mill the straight edge. The dif- ference in elongation at checking between the sheared and the milled edges provides a quantitative measure of blanking damage. MF
The Science of Forming
S
S
E
ER
RI
I
E
ES
SG
Best Clamp in the Industry
PHD’s Series GRM Clamps offer the BEST switch technology available in the sheet metal handling industry
Available with
Panel Present Detection
& Double Sheet Detection Clamp communicates when a panel or multiple panels are detected.
Series GRM Pneumatic Workholding Clamps
� ���� ����
� ������� ��������
� �� �� ��� �� ���� �����
� � ����� � �� ��� ������
� ���������������� ����
� � ������� ������������ ������
� ����� ��������������� � ���� �����������
To order a catalog, visit www.phdinc.com/mf1215 1-800-624-8511
GR
R
M
M
www.metalformingmagazine.com
MetalForming/December 2015 37


